Amazon Connect - Use Amazon AppStream 2.0 to Deliver Services Securely
Introduction
Amazon Connect is one of the fastest growing AWS services. It is an easy to use Omnichannel Cloud Contact Centre. In the current climate it is easy to see why it is so popular. In my previous blog posts I discussed leveraging services within Amazon Connect to improve the customer experience. In this article I’m going to show you how to enable agents to access Connect Control Panel (CCP) securely. This will be relevant for enterprises that need to allow agents to bring their own device (BYOD) possibly due to supply chain issues or other concerns.
Amazon AppStream 2.0
Amazon AppStream 2.0 is a fully managed application streaming service that simplifies application delivery. Desktop applications are centrally managed on AppStream 2.0 and then securely delivered to any computer. Applications and data are not stored on users’ computers. Applications are streamed as encrypted pixels and access data secured within your network. AppStream 2.0 connects to Active Directory, network, cloud storage, and file shares. Users access their applications using their existing credentials and existing security policies manage access. It provides the ability to automatically scale the size of the fleet to match the supply of running instances to user demand. Each running instance in a fleet can be used by only one user at a time, which means the size of the fleet determines the number of users who can stream concurrently.
Create an AppStream 2.0 Image for your agents
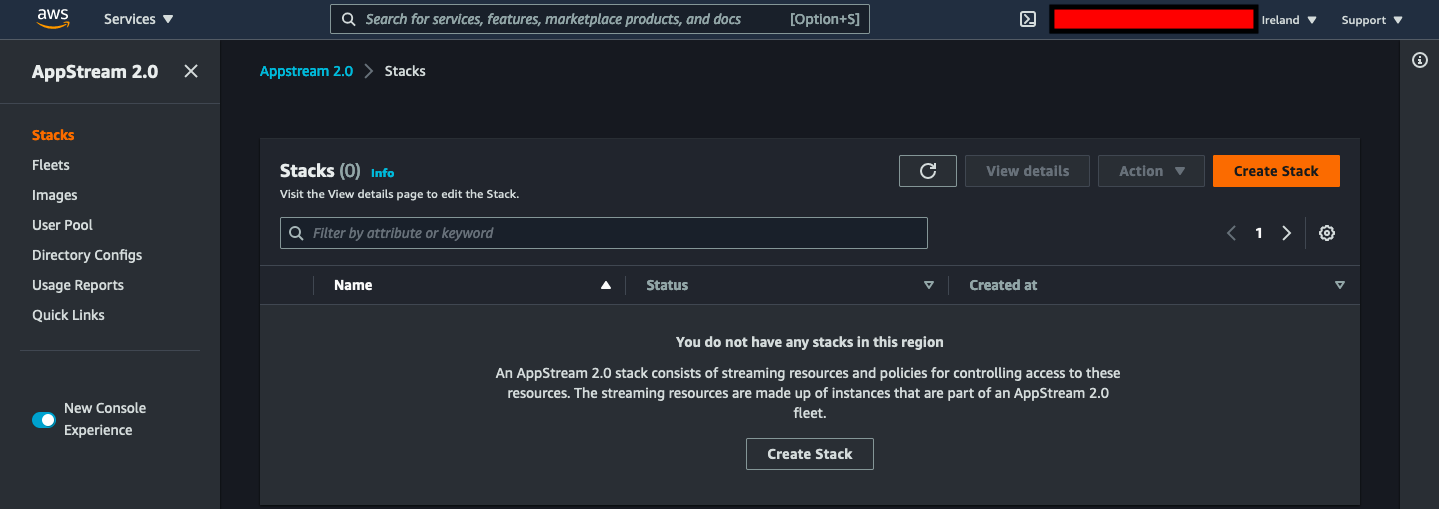
Open the AppStream 2.0 Console. You can deploy in any region where AppStream 2.0 is available. Ideally you should deploy in a region closest to your agents as AppStream is a remote desktop service which can increase the audio latency. I’m going to deploy in Ireland (EU-WEST-1)
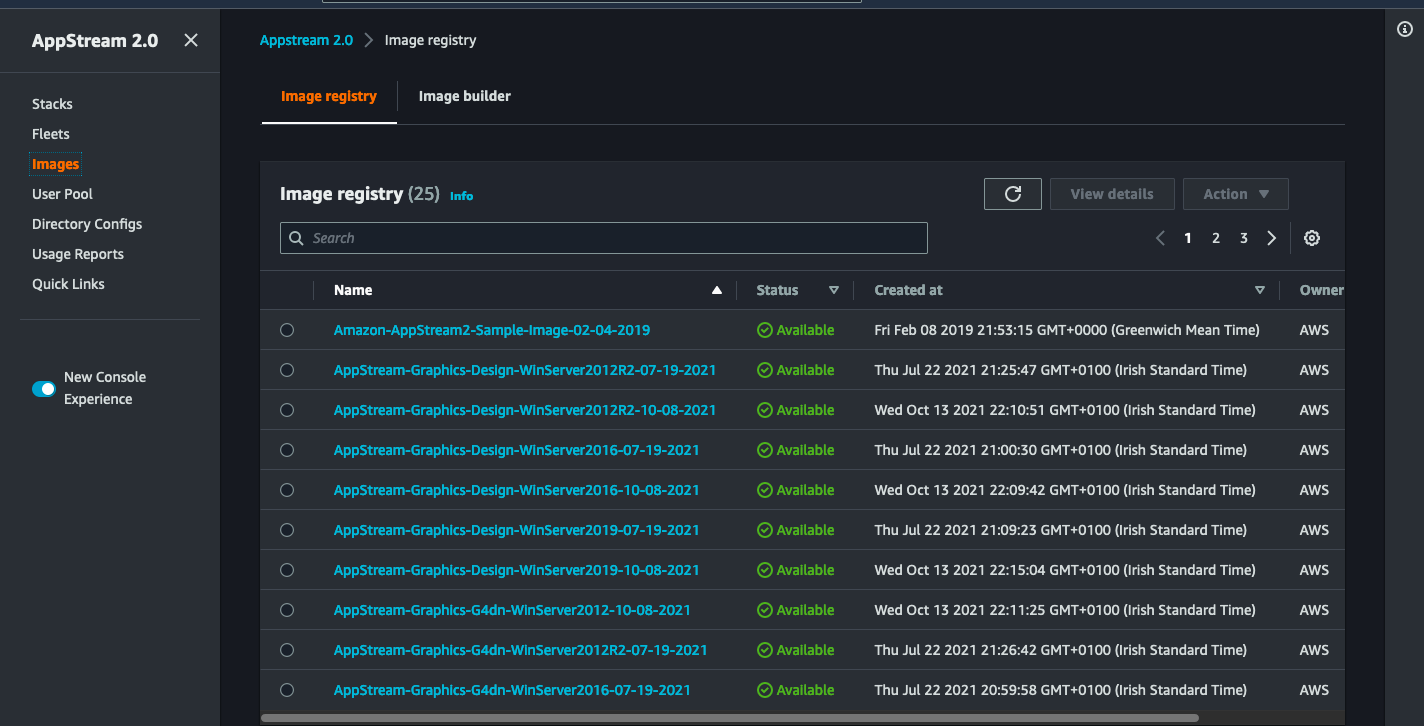
From the menu options on the left we select images
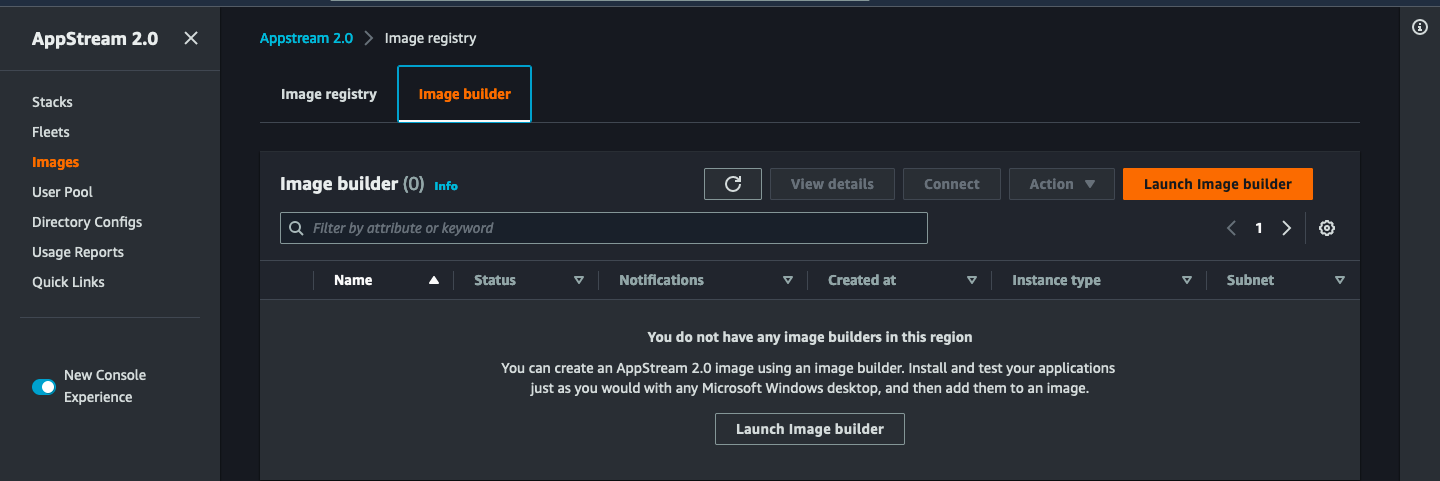
Next want to select the Image Builder tab. This going to launch an instance that will allow the IT Administrator configure the controls they require for the application, in our case the CCP. This will be the standard for all our agents when they login.
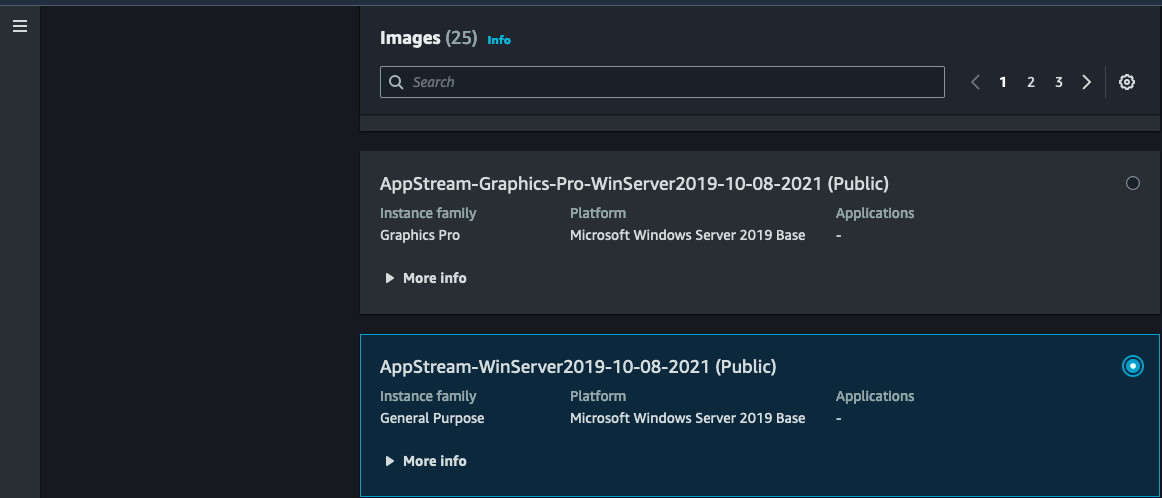
You want to select a base image and instance family. I have selected Windows 2019 and General Purpose. If you have an application that has a graphic requirement then you can select one of the graphic instance types.
Provide your name and display name

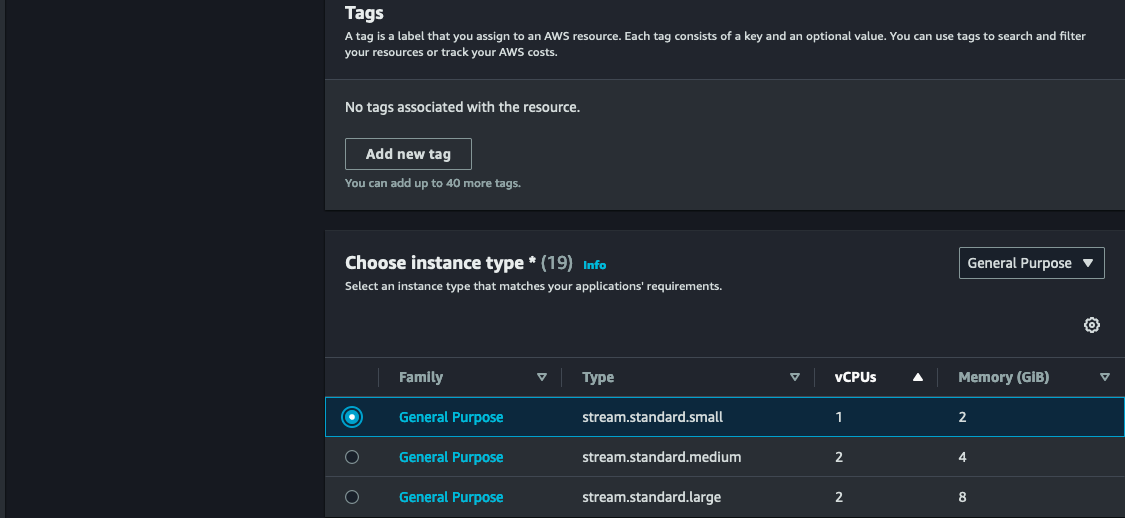
Add any tags inline with your policies. Select the instance type configuration. As this is for testing purposes only I’m selecting stream.standard.small. For your production environments it is probably better experience for your agents to have them use stream.standard.medium
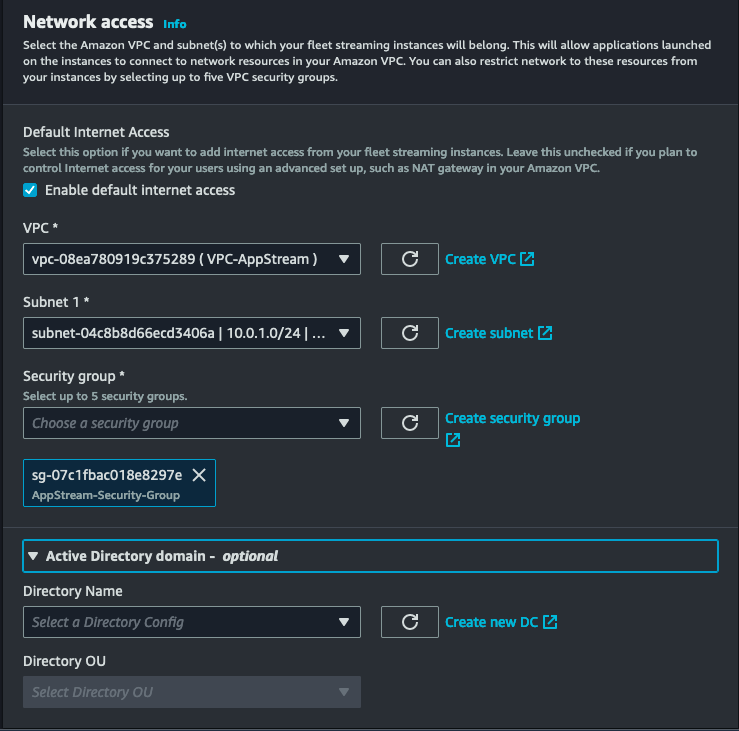
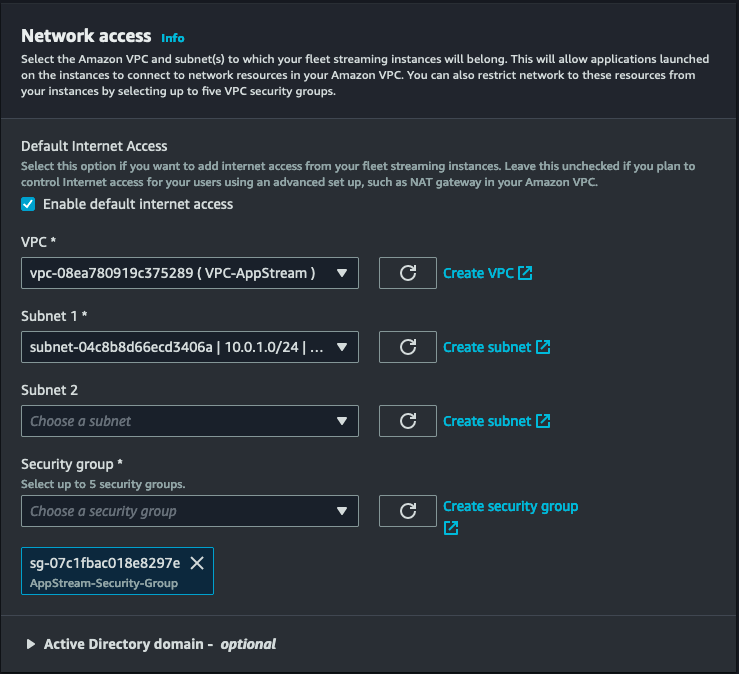
Fill out the details for the VPC, subnet and security groups. Again for production workloads you will want to add the streaming instance to your Active Directory.
Double check your configuration and then select Launch.
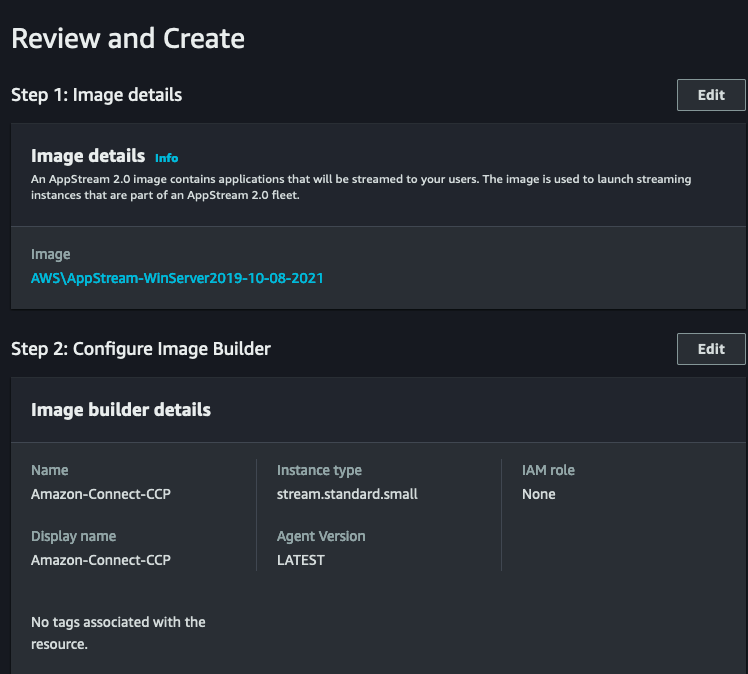
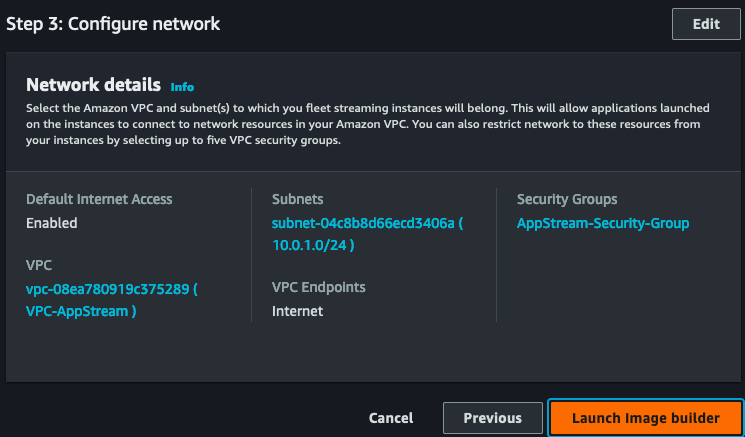
Configuring Application Settings
Now that we have an image it is time to configure the applications we want to make available for agents. Amazon Connect is supported by the latest 3 versions of Mozilla Firefox and Google Chrome. The images come with Firefox installed on them. If you want to use Chrome you will need to download it. It is a good idea to update the version of Firefox that is pre-installed on the image before starting to configure the image.
Once we have completed applying the VPC and Active Directory settings (optional) it will be in the pending status.
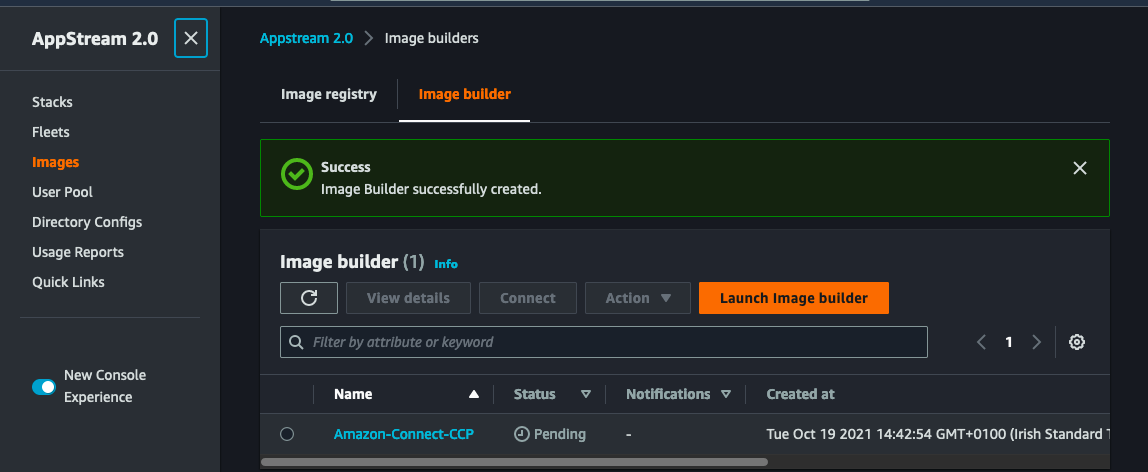
It will change to Running state once the Image is ready to have the applications configured.
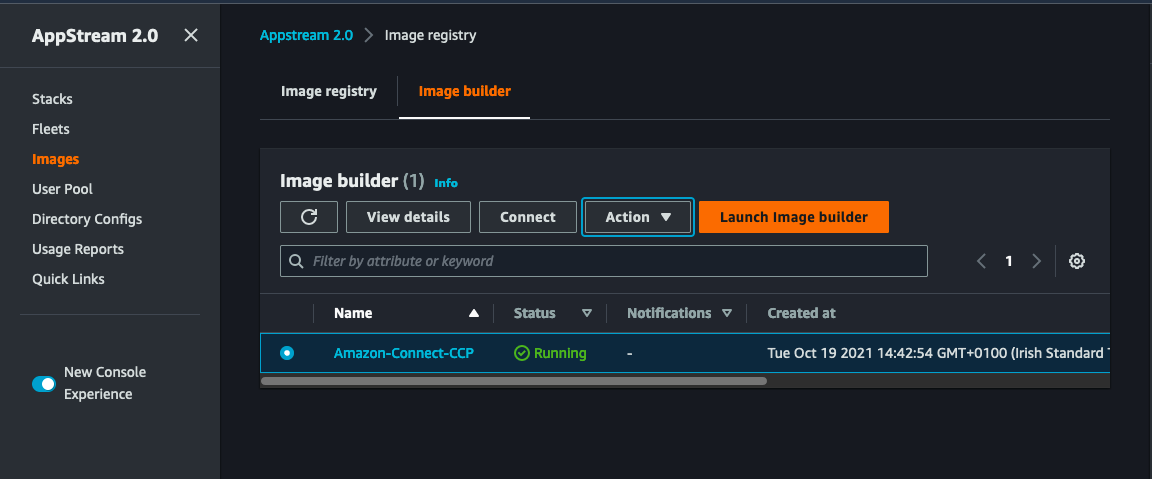
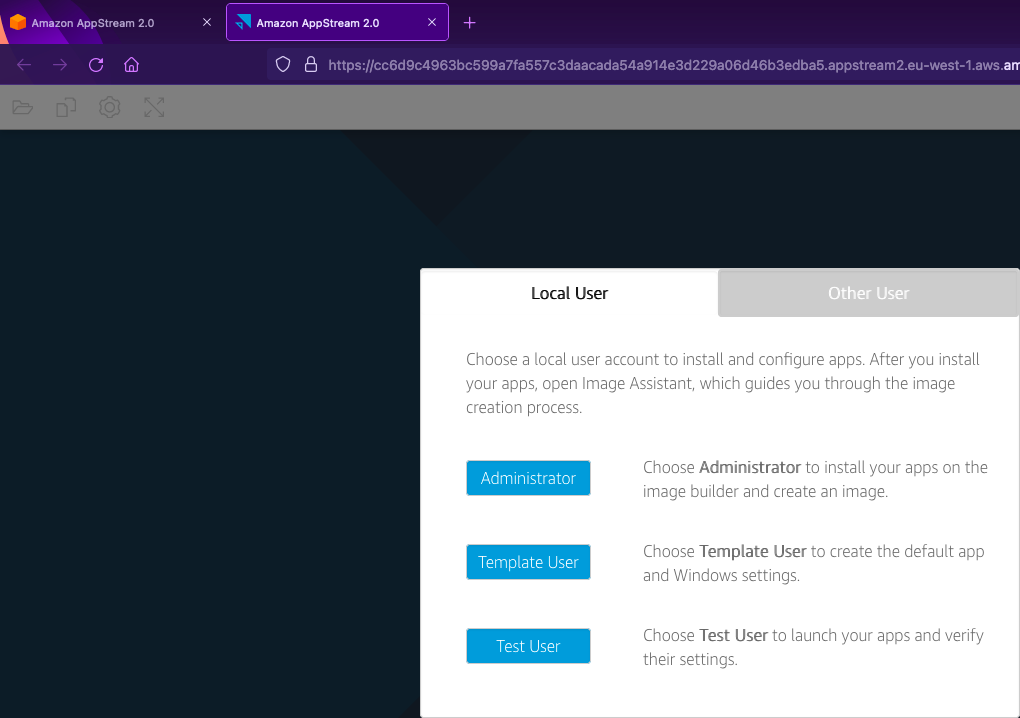
Once in the running state you need to select the image to be configured and click on the Connect button. This will open a new table in the browser. You want to select Administrator from the list of three local users.
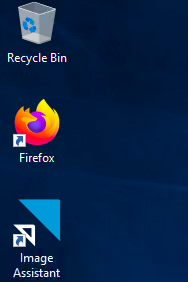
Install and update any applications that you are going to make available to your agents. Once all applications are installed, you will want to launch the Image Assistant which is located on the Desktop
Click on Add App
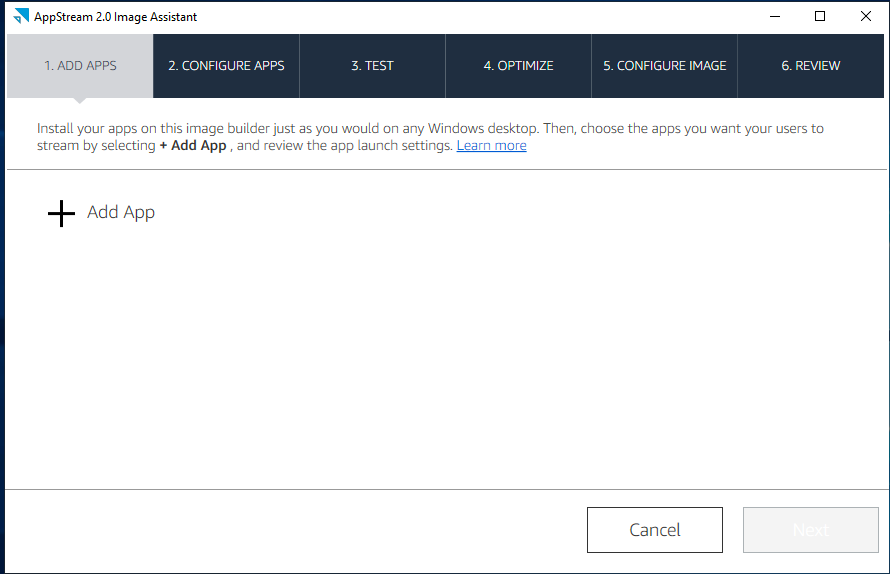
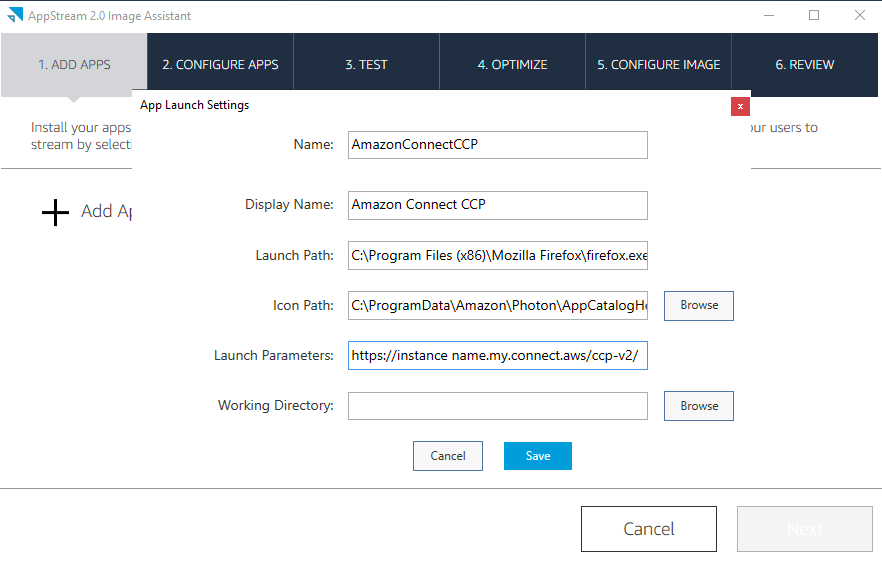
Browse to the executable for the relevant application. For any browser based applications you will need to select the browser. Once you have selected your browser fill in the details similar to below. Change the instance name to your Connect instance name and click Save and then Next.
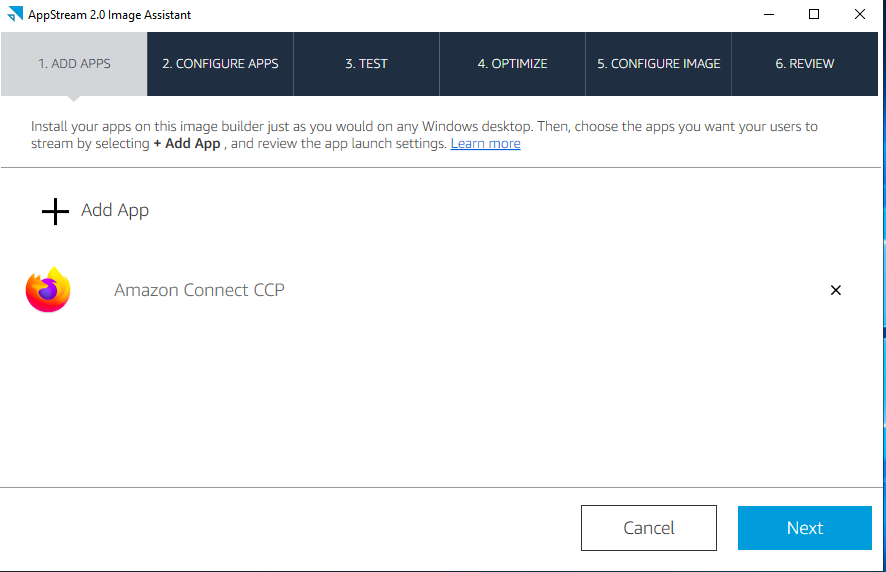
If just testing you can skip steps 2 and 3. In Step 4 we are going to optimise the launch for our agents. Select the relevant application and click Launch in the top right. Your application will launch
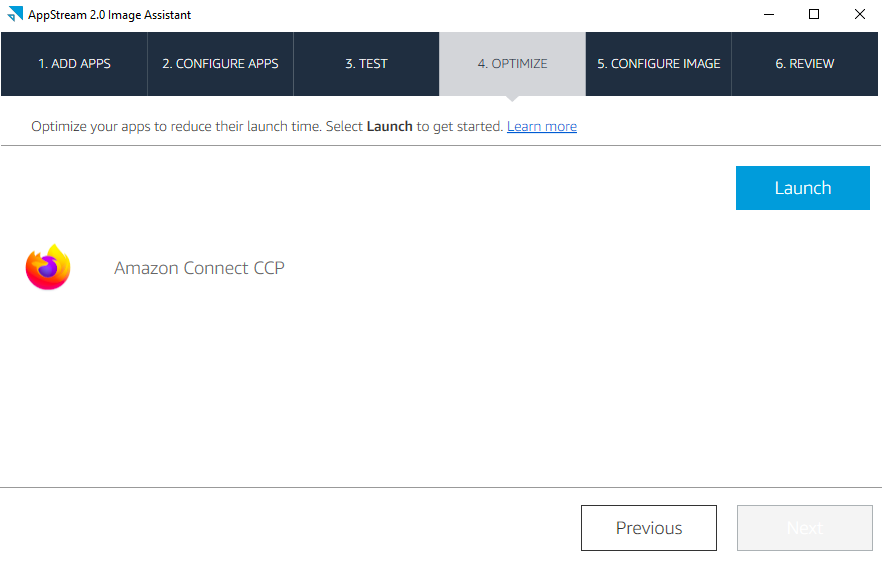
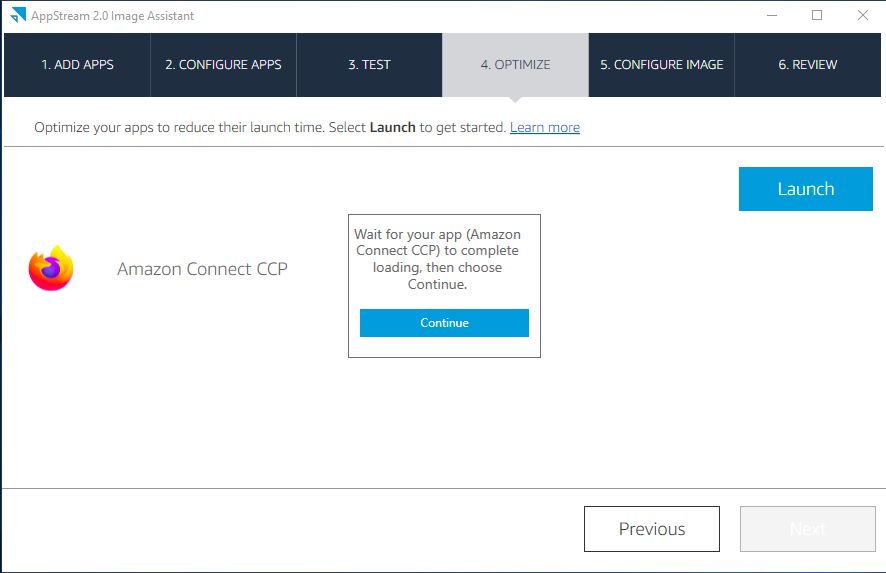
Once your application has successfully launched click on the Continue button. AppStream will optimise the startup and you will get the below popup where you fill in the final details of your Image.
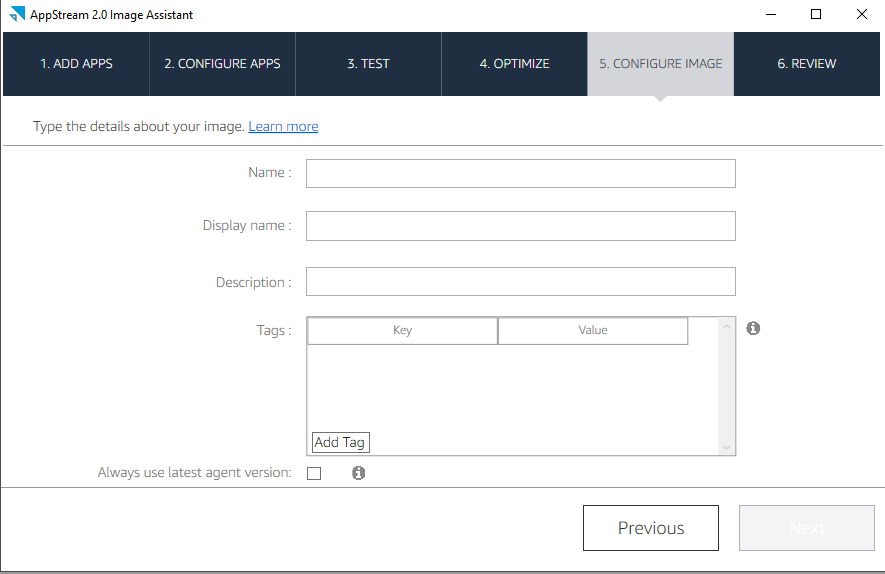
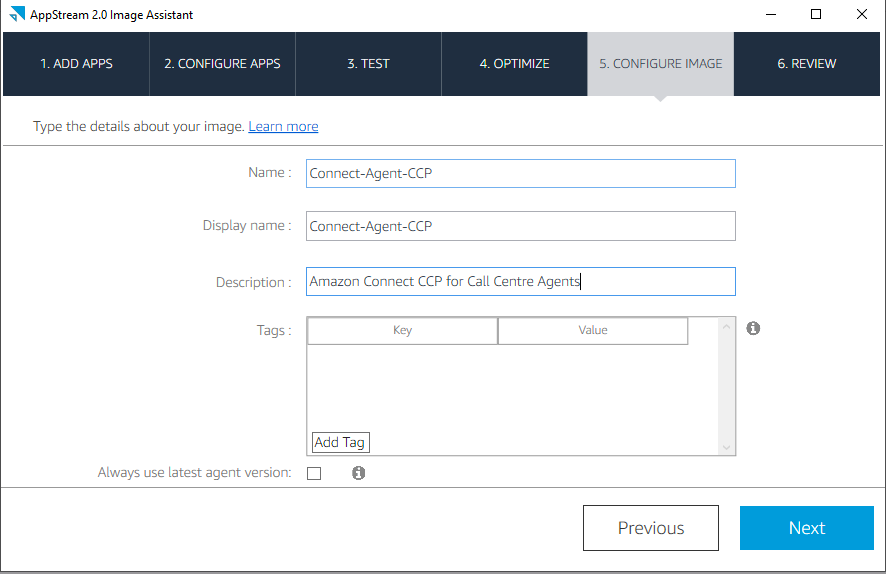
Once you are happy with all the changes click on Disconnect and Create Image.
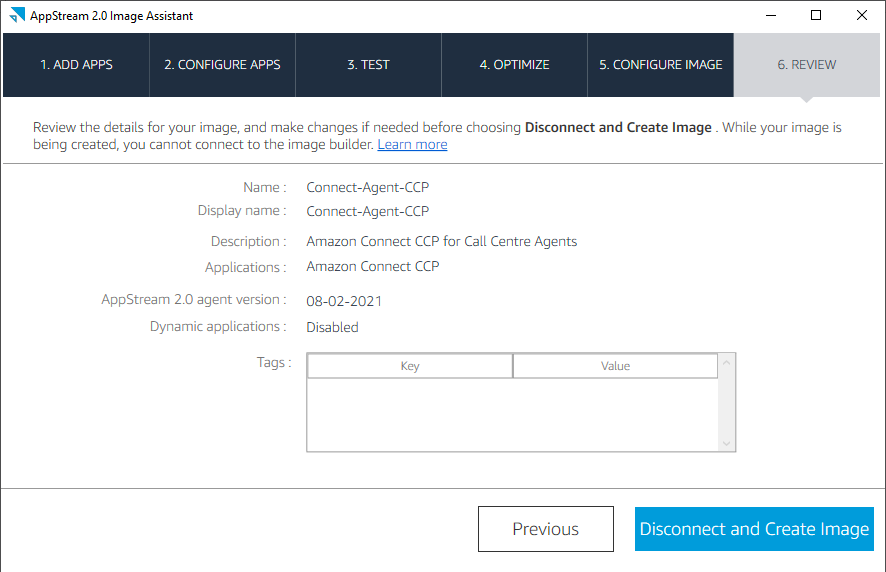
We now need to go back to AppStream 2.0 console to complete the setup of the Fleet and Stack.
Create Fleet
A Fleet is used to configure how many streaming instances are required to service the needs of our agents. There is a 1:1 ratio between instances and agents.
In the menu select Fleets and click Create Fleet

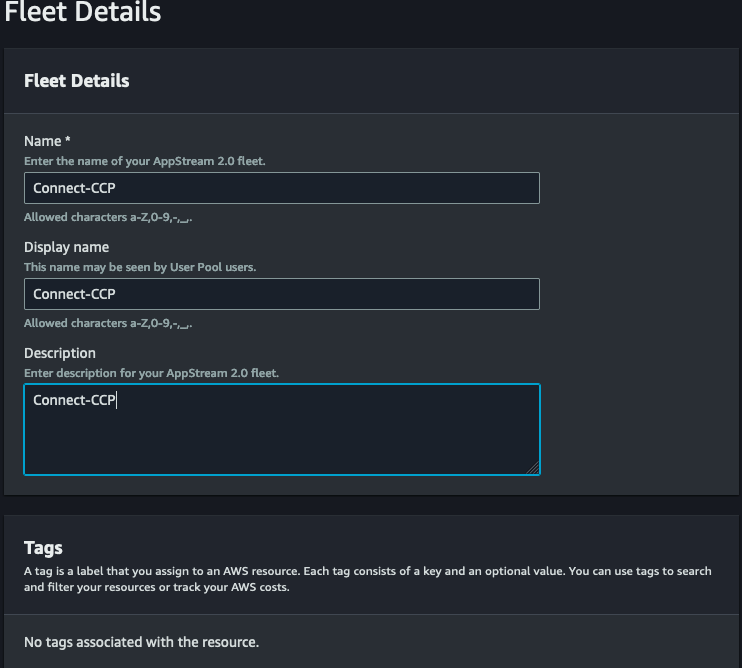
Fill in the Fleet details
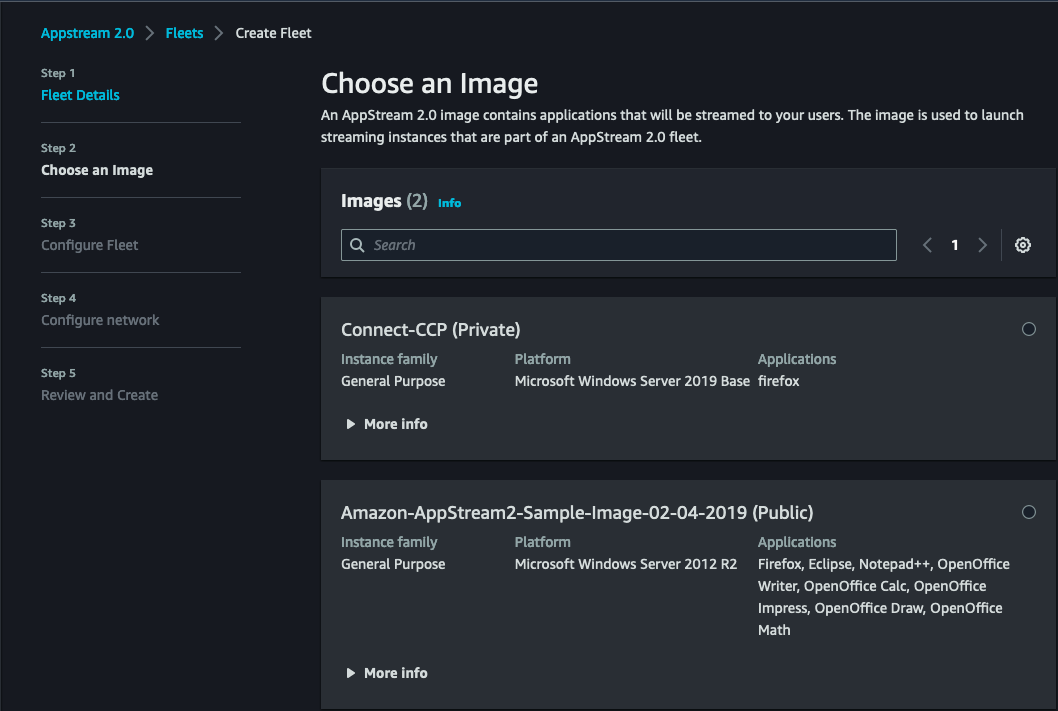
Select the correct image that you want to associate with the Fleet
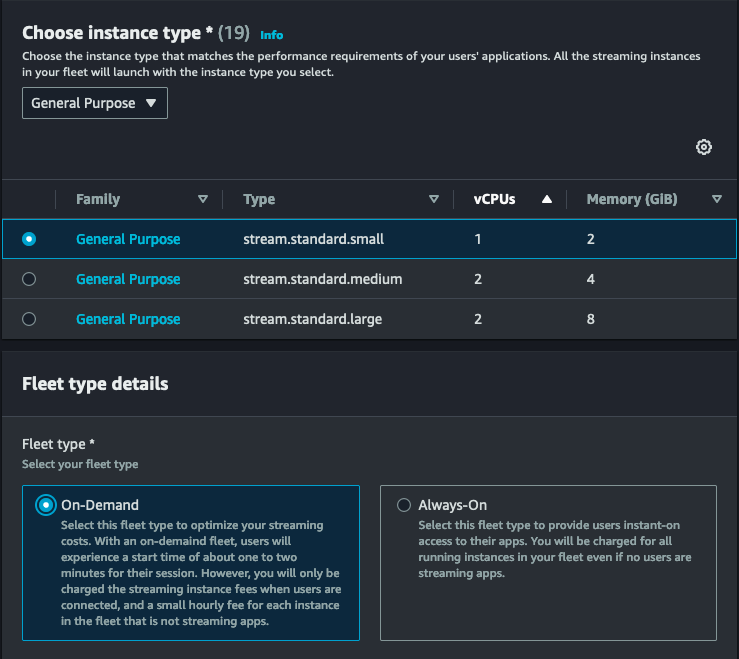
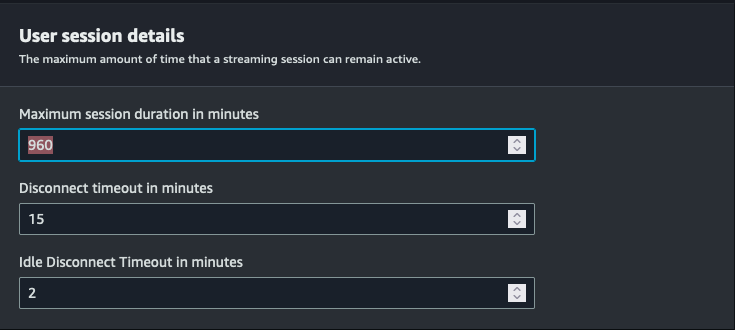
Configure the Fleet to match your requirements depending on environment. As this is for test I’m going to select General purpose small instance and on demand billing. You also configure the time out sessions for your users.
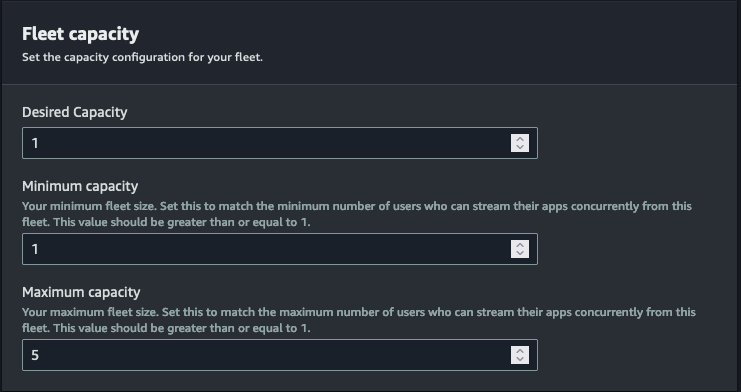
You now need to set size of your fleet. The Minimum capacity should be set to min number of users you expect to use the application at one time. The max number of users should be set to total number of users. The desired capacity should be equal or greater than your min capacity.
Final step is to add the Fleet to the relevant VPC.
Create Stack
In AppStream 2.0 a stack is used to implement policies on how our agents interact with the streaming instance.
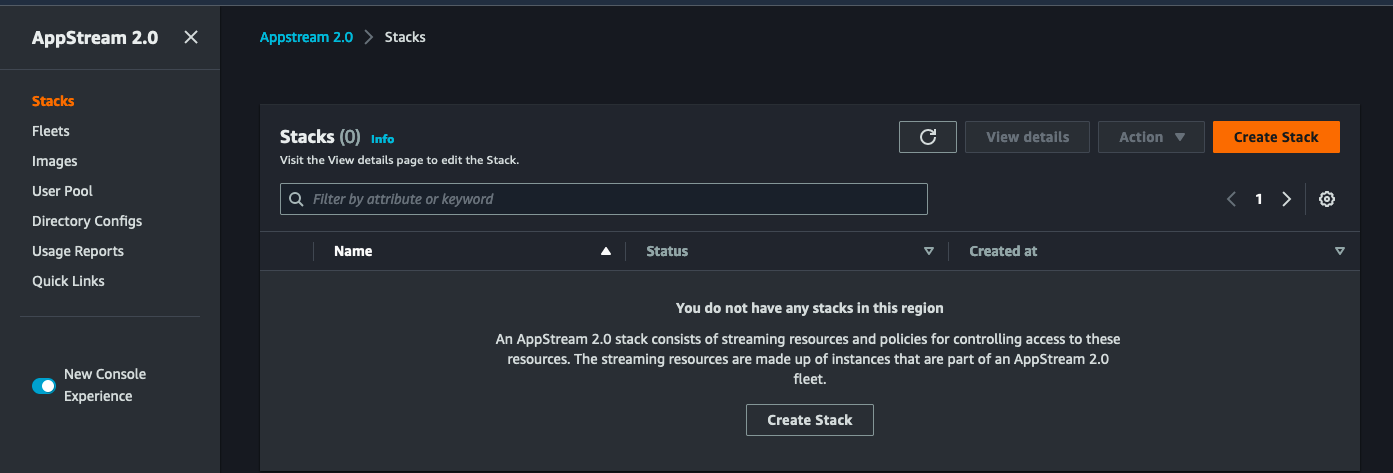
In the menu select Stack and click Create Stack.
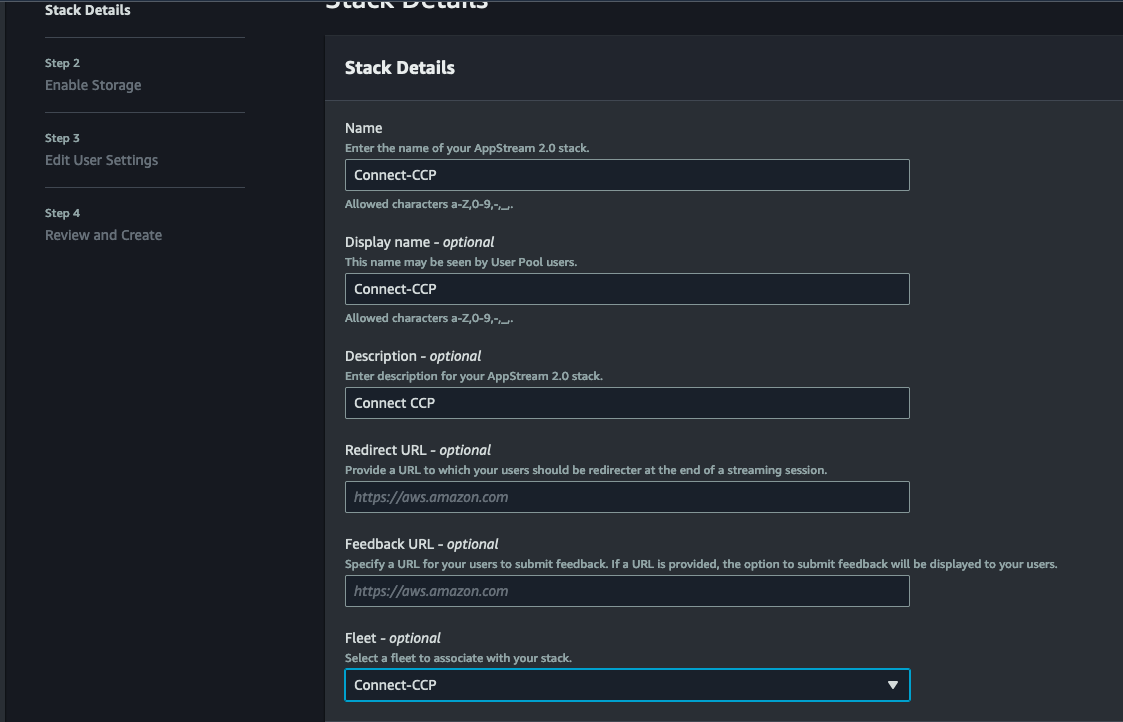
Fill in the Stack name details and associate to the fleet you created in previous step.
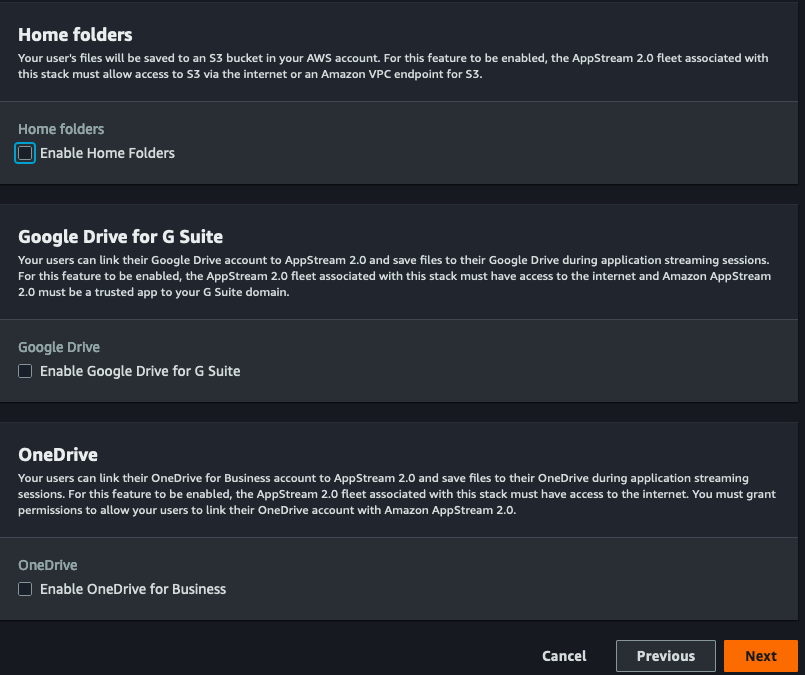
Configure any storage requirements that you want to enable for your agents.
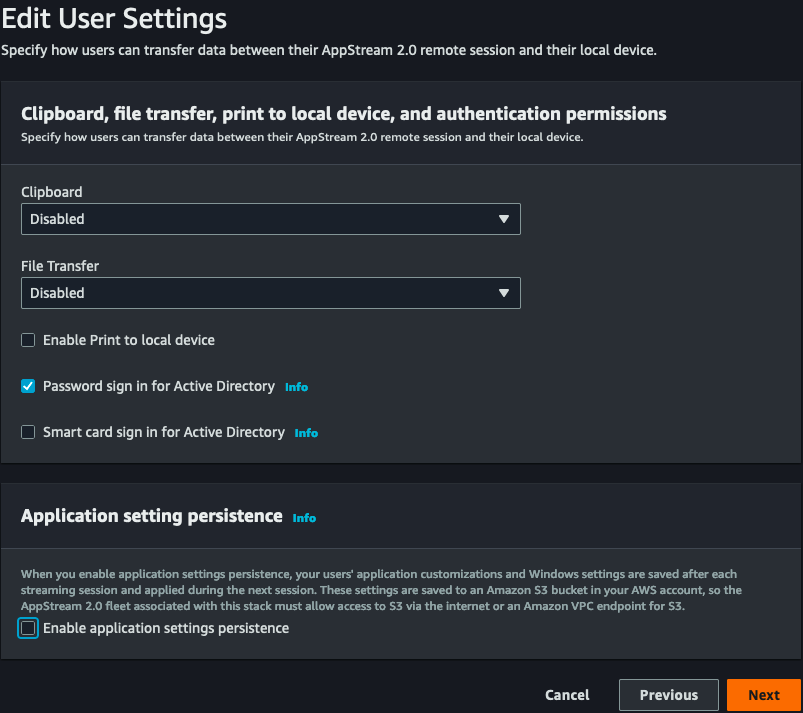
Enable or disable clipboard, file transfer, printing and application setting persistence depending on your security team requirements.
If you don’t have Active Directory you can use User Pools to test. Within AppStream 2.0 User Pools add your user and email address. You associate the user to the stack. They will get email from AppStream 2.0 will initial password and secure URL to the created application.
N.B Delete all stacks, fleets and images from AppStream once finished testing so not to incur any charges
Conclusion
In the above post showed how easy it is to use the CCP with AppStream 2.0. The reasons for using Connect CCP within AppStream 2.0 is when we have concerns about agents been remote or using their own devices. If you are using Connect with Salesforce or another CRM you could just add the CRM URL instead of the CCP URL and you would be able to secure the CRM and CCP. Within AppStream the Administrator has total control over what the end agents can or cannot do within the streaming instance. Just remember as you have implemented a virtual solution you may increase the latency of the audio.
